
Want an easy Disney DIY headband idea? Find out how to make a budget-friendly Maleficent felt headband to wear on your next Disney trip! Scroll for the full instructions!
This Maleficent felt headband DIY post was written by Disney expert Marcie Cheung and contains affiliate links which means if you purchase something from one of my affiliate links, I may earn a small commission that goes back into maintaining this blog.
When I was at the Oogie Boogie Bash at Disneyland last year, I got to meet Maleficent and she was glorious!
I’m usually not one for Disney villains, but I was seriously in awe of her entire demeanor. She made a few snide comments about my outfit that caught me off guard and (cracked me up!)
In that moment, she became my new favorite Disney villain!
So to celebrate meeting her, I’m sharing this fabulous Maleficent headband DIY tutorial.

How to Make a DIY Maleficent Headband
Just in time to celebrate the release of the movie Maleficent 2: Mistress of Evil and a fun dress-up item for kids (and adults) of ALL ages!

MATERIALS NEEDED FOR YOUR MALEFICENT HEADBAND:
- Maleficent Horns Template
- Craft Felt Sheets – Black, Orchid and Neon Green
- Headband – Black, Wide
- Rhinestones – Bright Green
- Permanent Marker – Fine Tip
- Stabilo Aquarellable Pencil – White
- Glue Gun and Glue Sticks
- Scissors
DIY Disney Maleficent Headband Instructions:
STEP ONE
Download, print, and cut out the Maleficent horns patterns. Lay the headband over the top of the paper pattern and trace the arch to match.

STEP TWO
Trace two Maleficent horn patterns onto the sheet of black craft felt with a white chalk pencil and then cut them out. 
TIP: Cut all patterns out inside the traced lines to create a clean finished project.
STEP THREE
Starting at the top point of both horns, carefully attach two patterns together, leaving a 2” section open at the base.

STEP FOUR
Attach the base of the horn pattern to the front and then to the back of the headband with a glue gun.

Here is a detail of the gluing process.
STEP FIVE
Carefully attach the right and then the left sides of the horn pattern to the top edge of the headband with the glue gun.

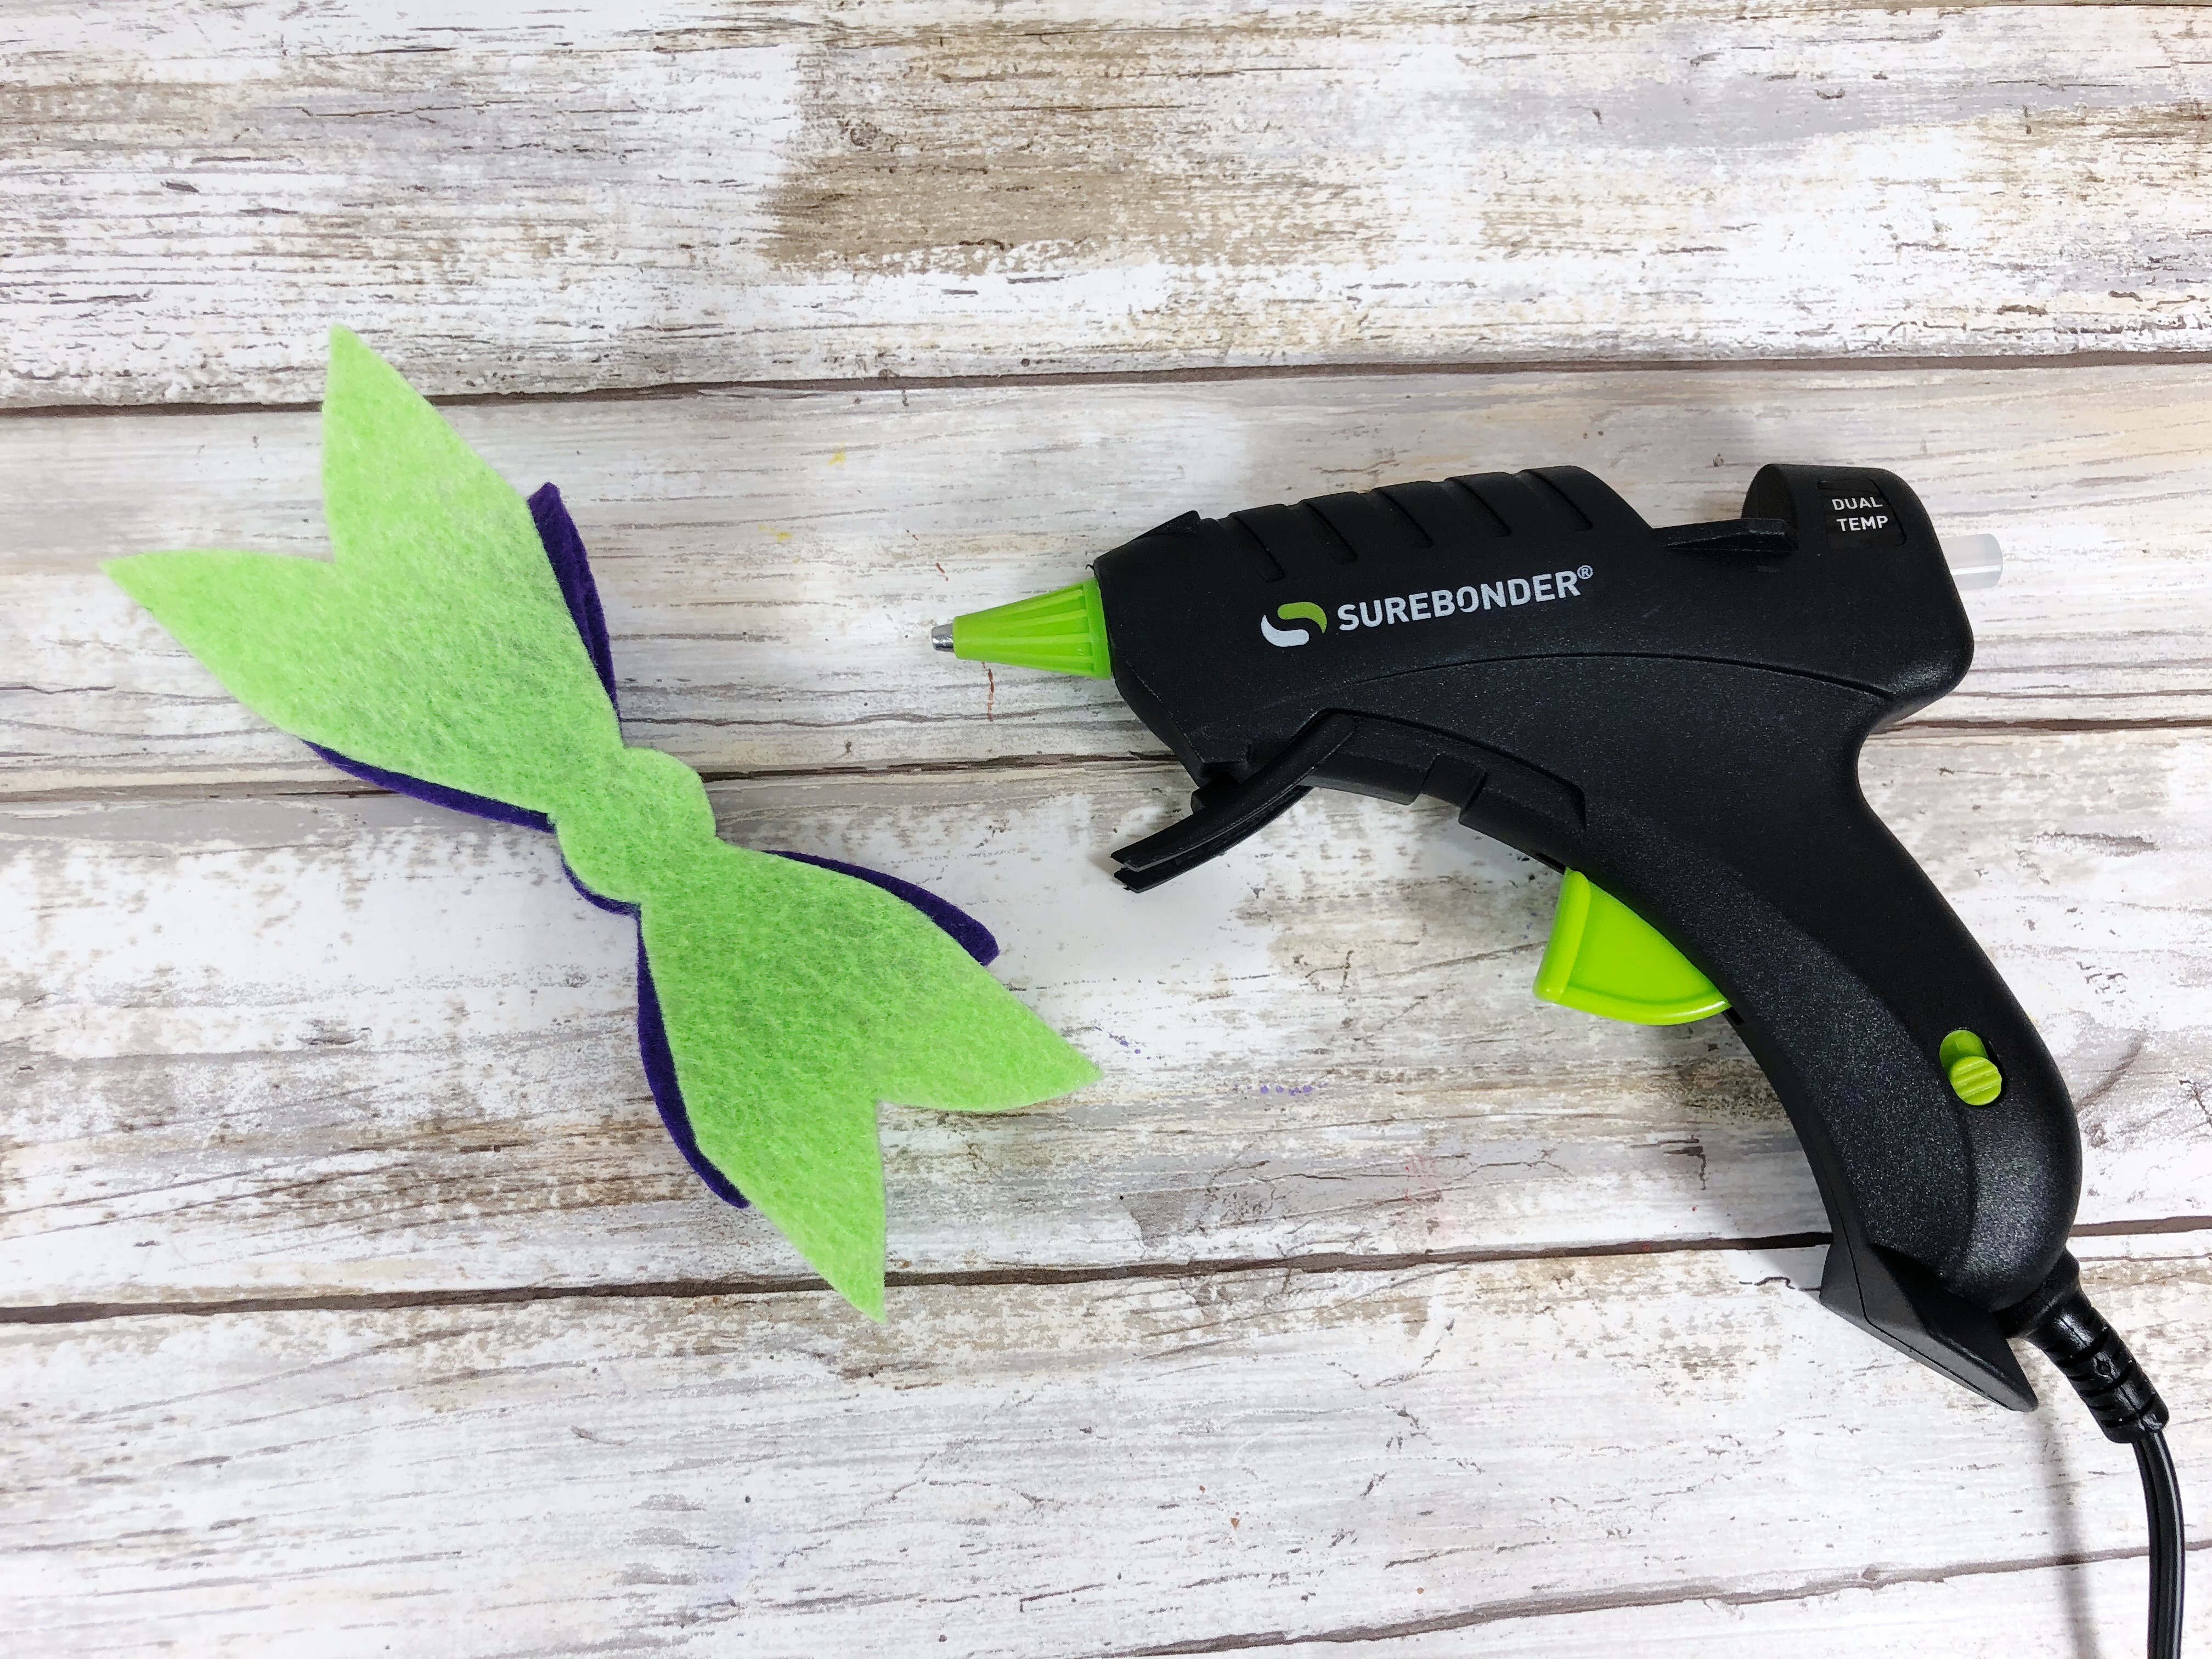
STEP SIX
Trace and cut out Maleficent bow patterns from orchid and neon green craft felt sheet.

STEP SEVEN
To create the bow, attach the right and left ends of the orchid felt shape to the center and then secure it with the glue gun. Adhere neon green bow tails to the bottom of the bow with a glue gun.

STEP EIGHT
Flip the bow over and attach one large and several small bright green rhinestones to the center in a circular pattern.
STEP NINE
To finish, attach the bow to the headband with the glue gun.

This quick and easy Maleficent Felt Headband is a great project to create with tween and teen girls in just about 30 minutes.

And there you have it, your very own DIY Maleficent Headband! This is an easy Disney DIY activity to do with friends before a Disney trip, or a quick Halloween costume!
DIY Maleficent Horns FAQs
How can I make the Maleficent ears sturdy and upright?
Reinforcing the inside of the horns with a wire or using layers of newspaper or craft paper can help keep them upright and sturdy.
Are DIY Maleficent horns safe for kids to make?
Yes, but always supervise kids when using materials like hot glue or sharp scissors.
Can I resize the Disney Maleficent headband to fit kids?
Absolutely! You can adjust the pattern or design to create smaller horns suitable for children.
What if I don’t have a black headband?
You can use any color headband and wrap it with black tape, fabric, or paint it black.
Maleficent Disney Ears Wrap-Up
Disney villain headbands are an easy way to add a spooky touch to any outfit, whether you’re visiting Disneyland or not!
These Disney maleficent horns are fun for grown-ups as well as kids of all ages!