
Does your little princess love Ariel? Learn how to make a Princess Ariel paper doll with this super cute Little Mermaid craft. Scroll for the full instructions!
This Little Mermaid craft contains affiliate links which means if you purchase something from one of my affiliate links, I may earn a small commission that goes back into maintaining this blog.
I remember watching The Little Mermaid when it first came out on VHS when I was in elementary school. From her long, flowy red hair to her ability to swim underwater, what’s not to love?
Now that I’m a mom, I spend a lot of time watching Disney movies with my kids. It’s always so cool when my kids like Disney movies I liked growing up!
One of our favorite Disneyland rides is Ariel’s Undersea Adventure. You sit in a little clamshell and take a little journey through iconic scenes from The Little Mermaid.
If your family loves the movie as much as I do, you’ll have fun with this DIY Little Mermaid paper doll craft. It’s the perfect thing to add to greeting cards, gift bags, or use as a little puppet!
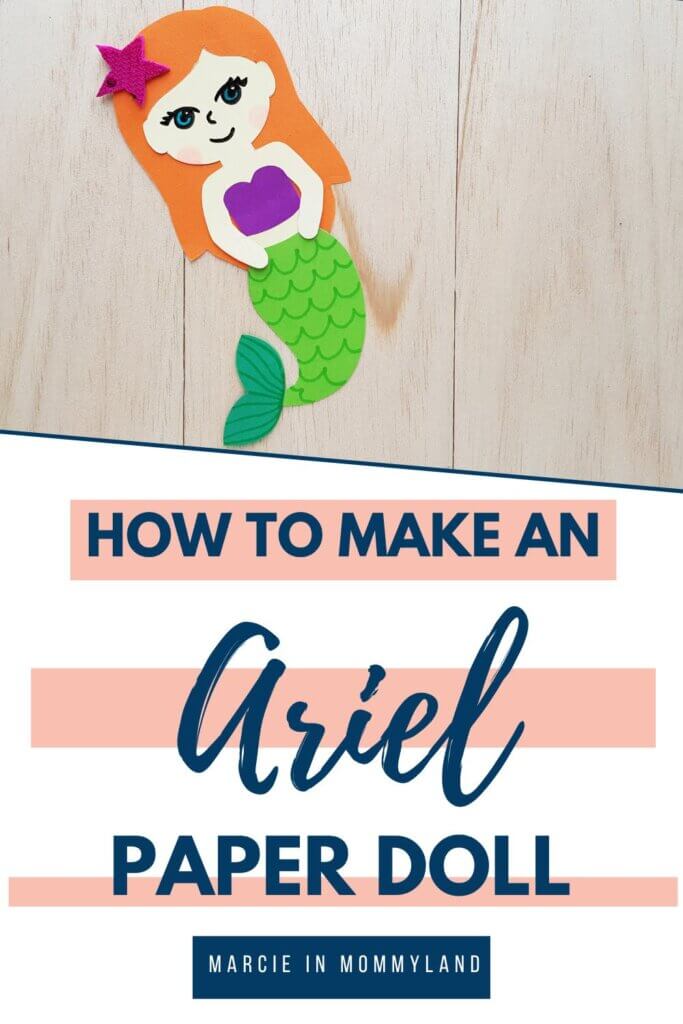
The Little Mermaid Craft: Princess Ariel Paper Doll
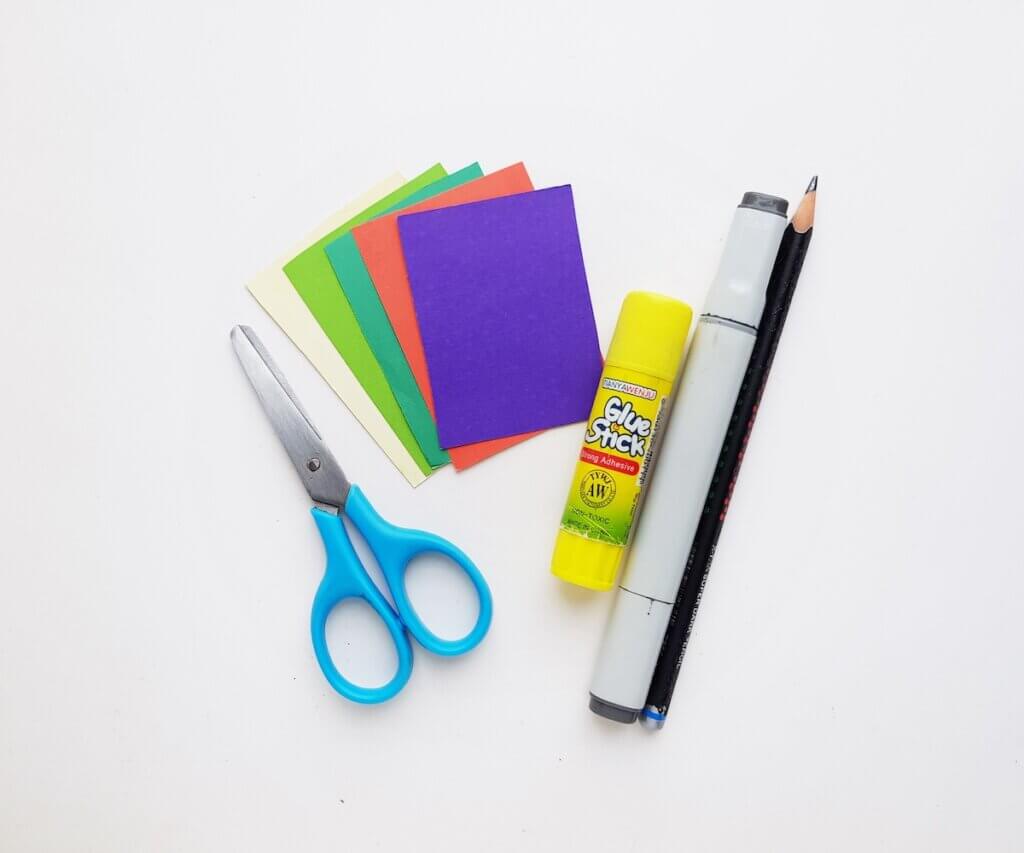
The Little Mermaid Craft Supplies:
- Colored craft papers
- Craft glue
- Marker pen
- Pencil
- Scissors
- Princess Ariel Template
How to Make a Princess Ariel Paper Doll:
Ariel Paper Doll Step 1:
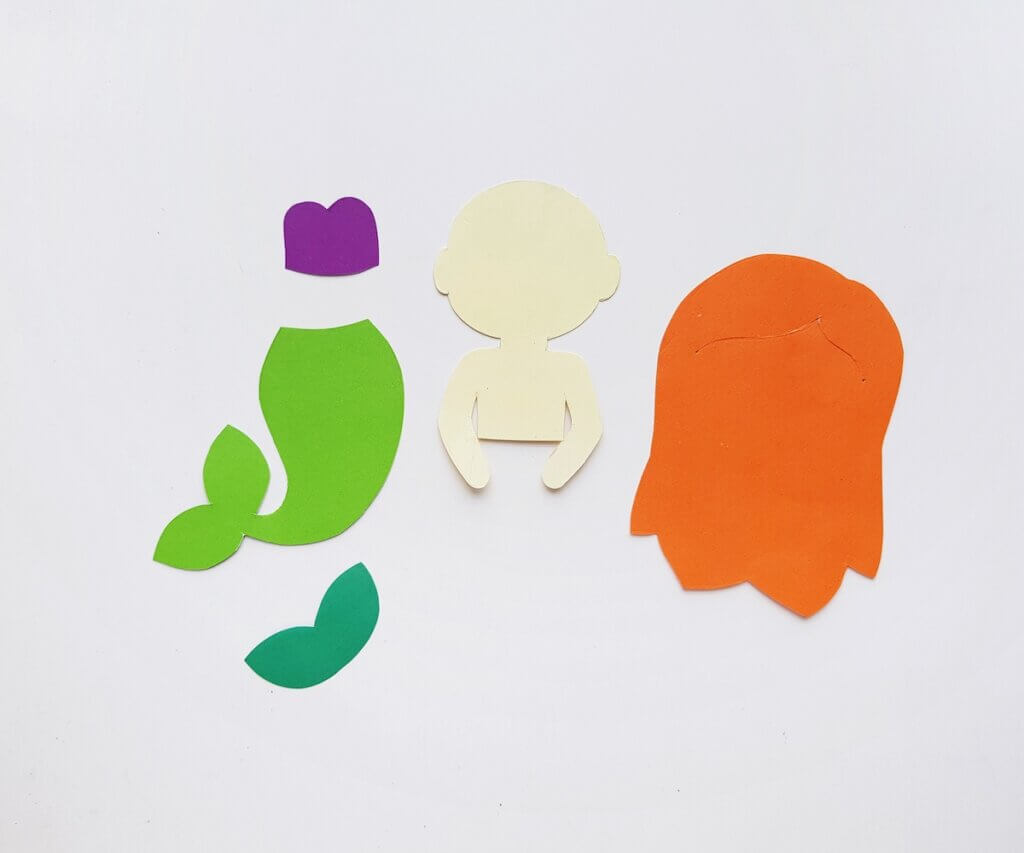
Select a paper for the skin tone and also select 2 different shades of green, orange, and purple colored craft papers for this craft. Print out the Princess Ariel template.
Trace the hair pattern on the orange paper, and the body base on the paper selected for the skin tone; trace the fin and tail on mint and green colored paper and the top on purple paper. Cut out the traced patterns nicely.
Ariel Paper Doll Step 2:
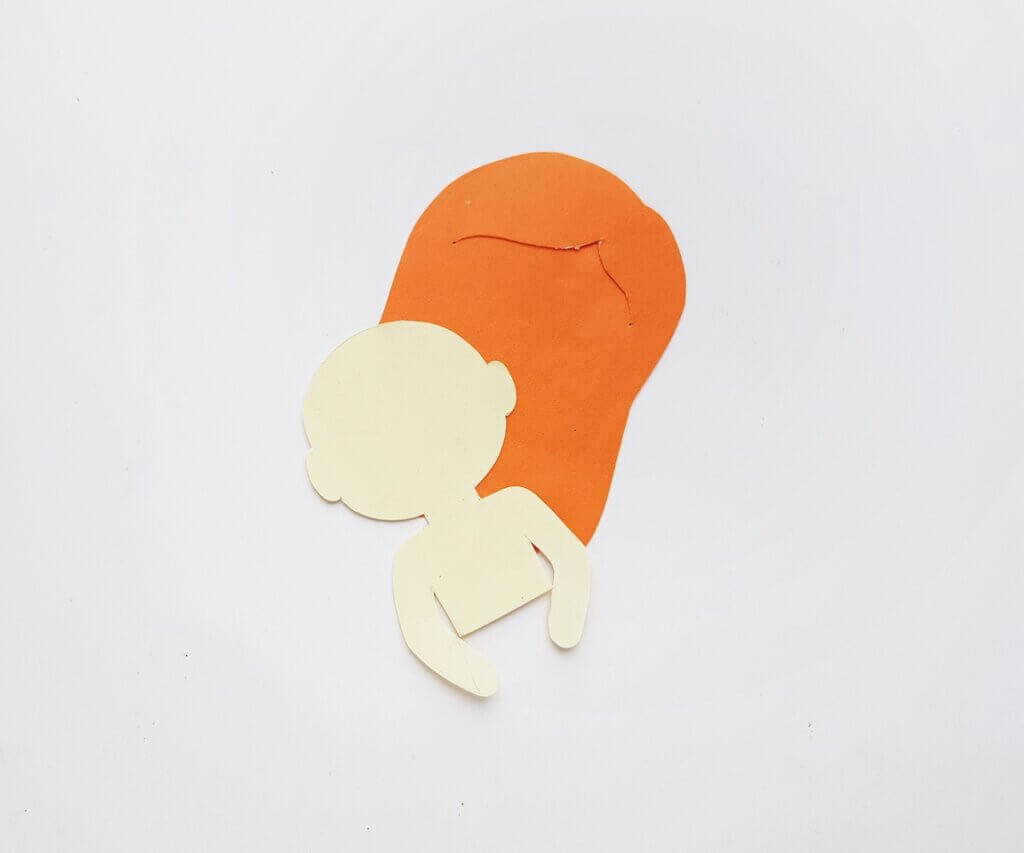
Cut a slit along the traced line inside the hair template.
Ariel Paper Doll Step 3:
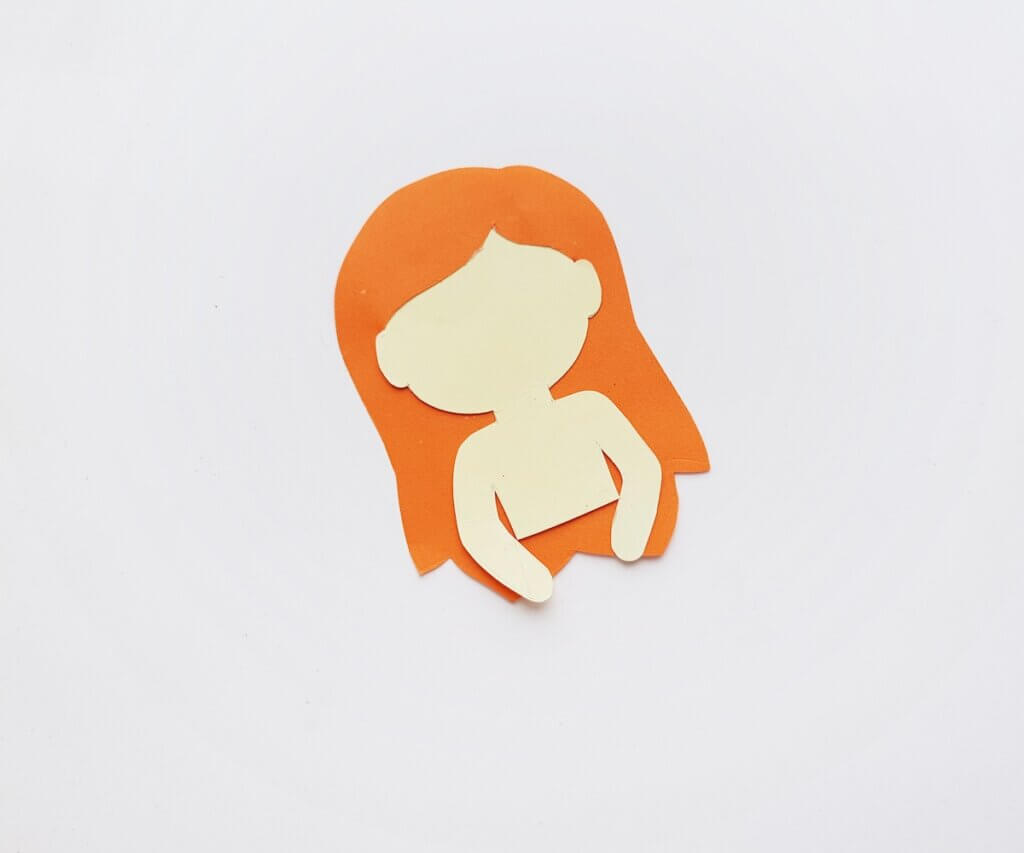
Take the body base cutout and slide the head part through the slit from the bottom side of the hair. Use glue to fix the position of the hair and head once they are placed nicely.
Ariel Paper Doll Step 4:
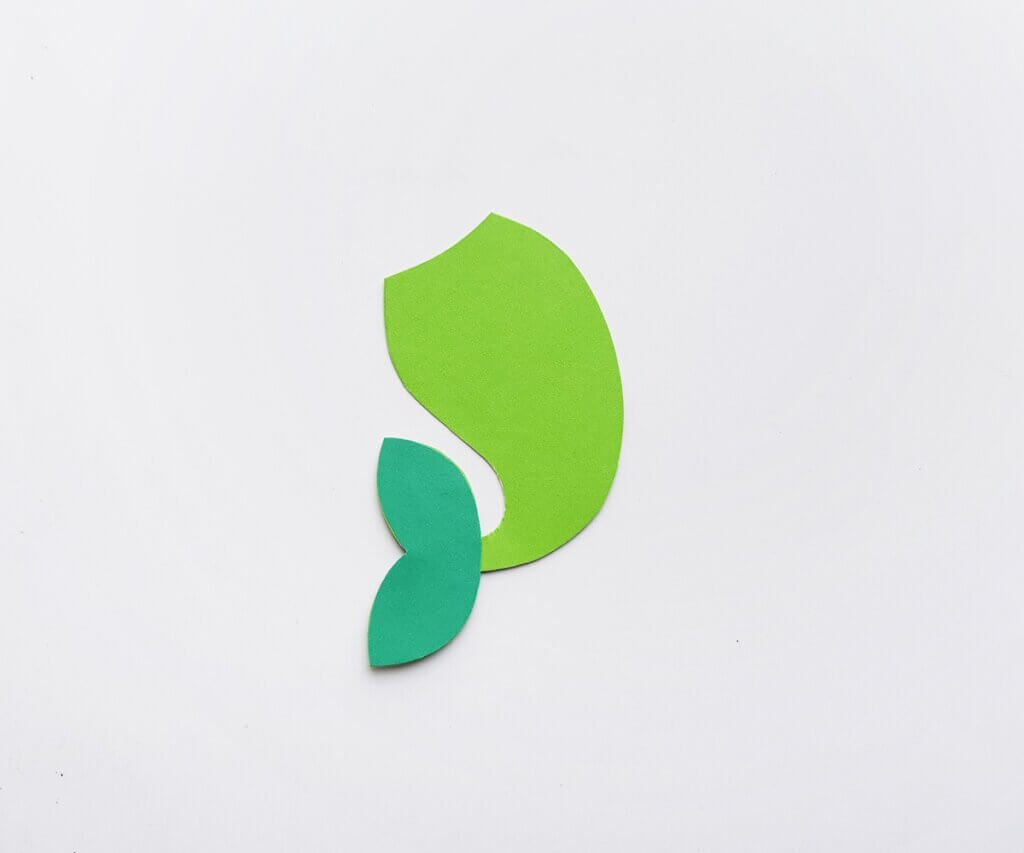
Attach the fin pattern on the fin part of the tail pattern.
Ariel Paper Doll Step 5:
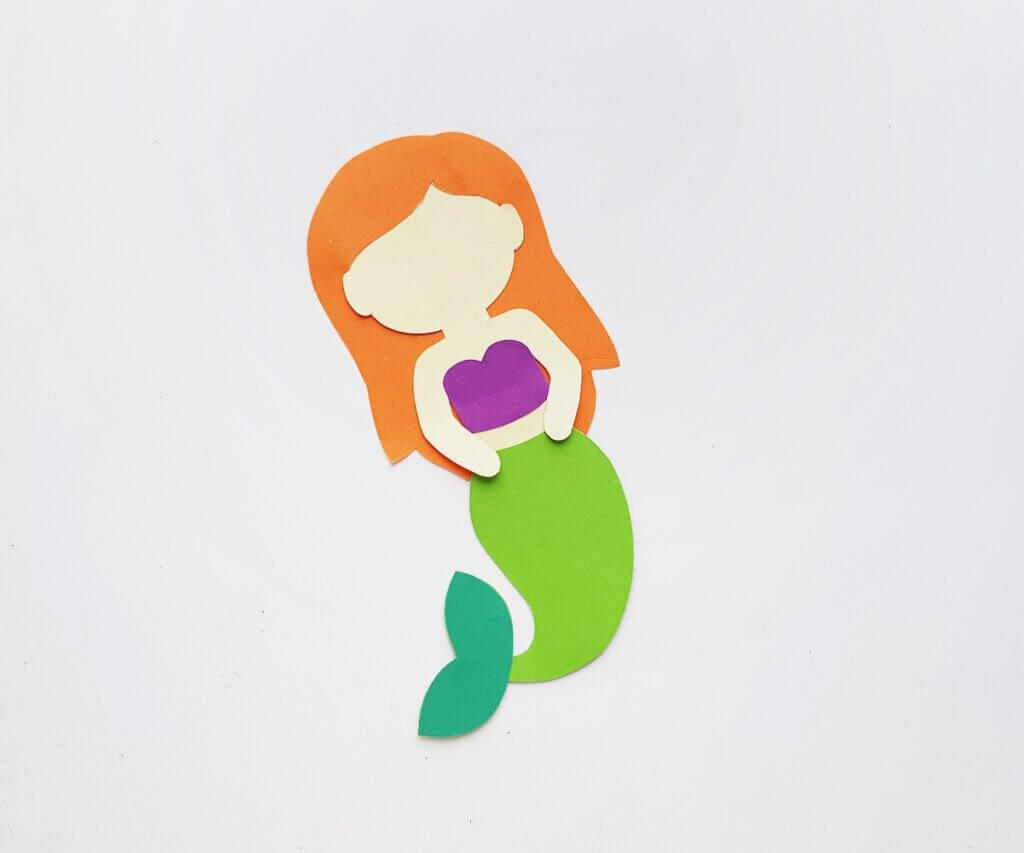
Attach the top pattern on the top side of the body base and the tail pattern below the top, on the body base.
Step 6:
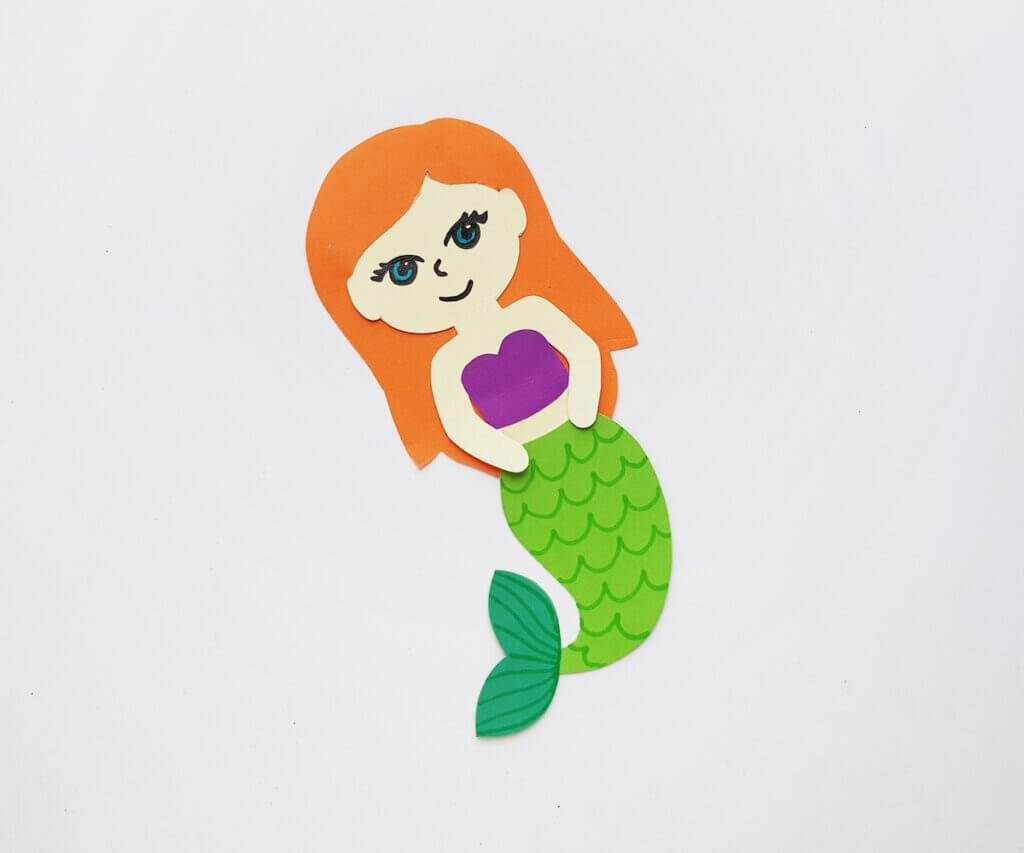
Use a green marker pen to trace scalloped patterns on the tail pattern. Use a black marker to draw the eyes, nose, and mouth and a blue marker to fill the eyes of your Ariel doll.
Ariel Paper Doll Printable FAQs
A Disney-inspired Ariel paper doll is a printable craft that allows you to create a paper doll of Ariel from Disney’s “The Little Mermaid.”
To make a Disney-inspired Ariel paper doll, you will need the printable template, scissors, glue, and optionally, crayons or markers.
Printable Ariel paper doll templates can be found online through various websites and blogs, as well as on social media platforms like Pinterest.
To make a Disney-inspired Ariel paper doll, simply print out the template, cut out the pieces, and assemble the doll using glue. You can also color the pieces with crayons or markers to customize your Ariel paper doll.
Making a Disney-inspired Ariel paper doll is a fun and creative activity that can help improve your fine motor skills, provide a sense of accomplishment, and allow you to express your creativity.
Ariel Princess Printable Doll Wrap Up
Our printable Ariel paper doll craft is a fun and easy way to bring the magic of Disney’s “The Little Mermaid” to life. With our printable template, you can create a paper doll of Ariel that is perfect for playtime or display.
Not only is this paper doll craft easy to make, but it’s also a great way to engage your creativity and imagination. By customizing your Ariel paper doll with crayons or markers, you can create a one-of-a-kind doll that is uniquely your own.
Whether you’re a fan of Disney’s “The Little Mermaid” or just looking for a fun and engaging craft project, our printable Ariel paper doll is a great option.
So why not download and print the template today and let the magic of Ariel inspire you?