

Are you looking for cute Halloween toilet paper roll crafts to make in October? Keep scrolling to learn how to make this adorable Frankenstein toilet paper roll craft perfect for Halloween!
This easy Frankenstein toilet paper roll craft tutorial contains affiliate links which means if you purchase something from one of my affiliate links, I may earn a small commission that goes back into maintaining this blog.
Are you looking for a fun Halloween craft to make with your kids?
This Frankenstein toilet paper roll craft is perfect for elementary students! It’s really easy and quick to make, so it’s great if you have a lot of children.
All you need are an empty toilet paper roll, cardstock, construction paper, glue, a pencil, and a pair of scissors.
You can use this as decoration or even give it away as gifts! We love that this is such an easy project that anyone can do – no matter their age or skill level.
Your kids will absolutely love making this cute Frankenstein toilet paper roll craft because they get to glue everything on themselves! They will feel like real artists.
Once they finish cutting out the pieces they just need some glue on top of all their hard work before putting their creation on display for everyone else to see how amazing they are at crafting!
If you want more ideas check out our website where we have tons more crafts like this one!
Keep scrolling to learn how to make your very own Frankenstein toilet paper roll craft today!
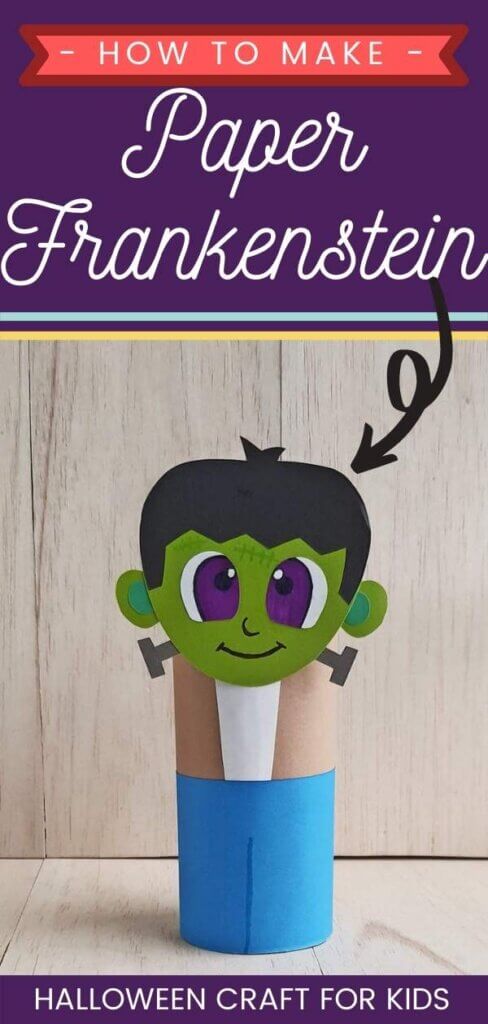

How to Make a Frankenstein Toilet Paper Roll Craft
Frankenstein Paper Craft Supplies
- Empty toilet paper roll
- Colored cardstock paper (green and black)
- Colored craft papers (dark green, gray, blue, brown, and white)
- Craft glue
- Pencil
- Scissors
- Sharpie
- Template pattern (download HERE)
Toilet Paper Roll Frankenstein Instructions
Step 1:
First, you’ll need to pick out your colored paper and cardstock.
We used green cardstock paper for the head and main ear patterns, dark green craft paper for the inner ear patterns, black cardstock paper for the hair pattern, gray craft paper for the bolt pattern, blue craft paper for the pant, brown craft paper for the jacket and white craft paper for the shirt.

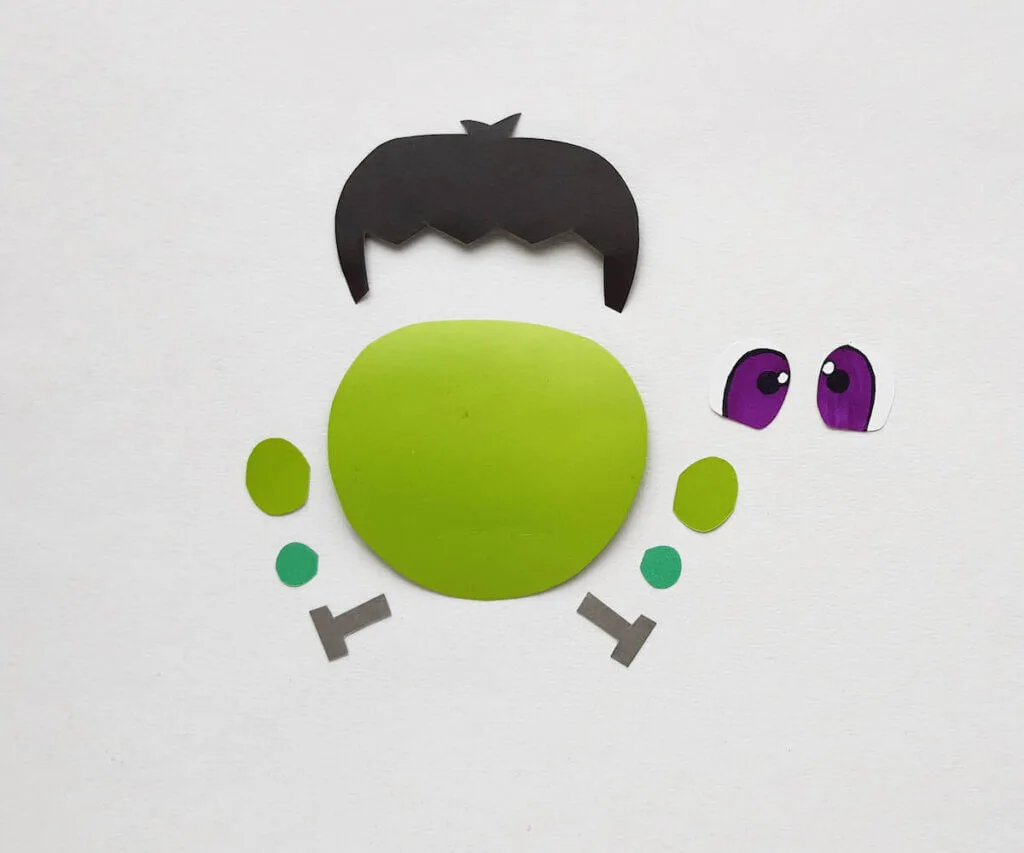
Next, you’ll trace the template patterns on the selected cardstock and craft papers. Then, cut out the traced patterns using scissors.
Step 2:
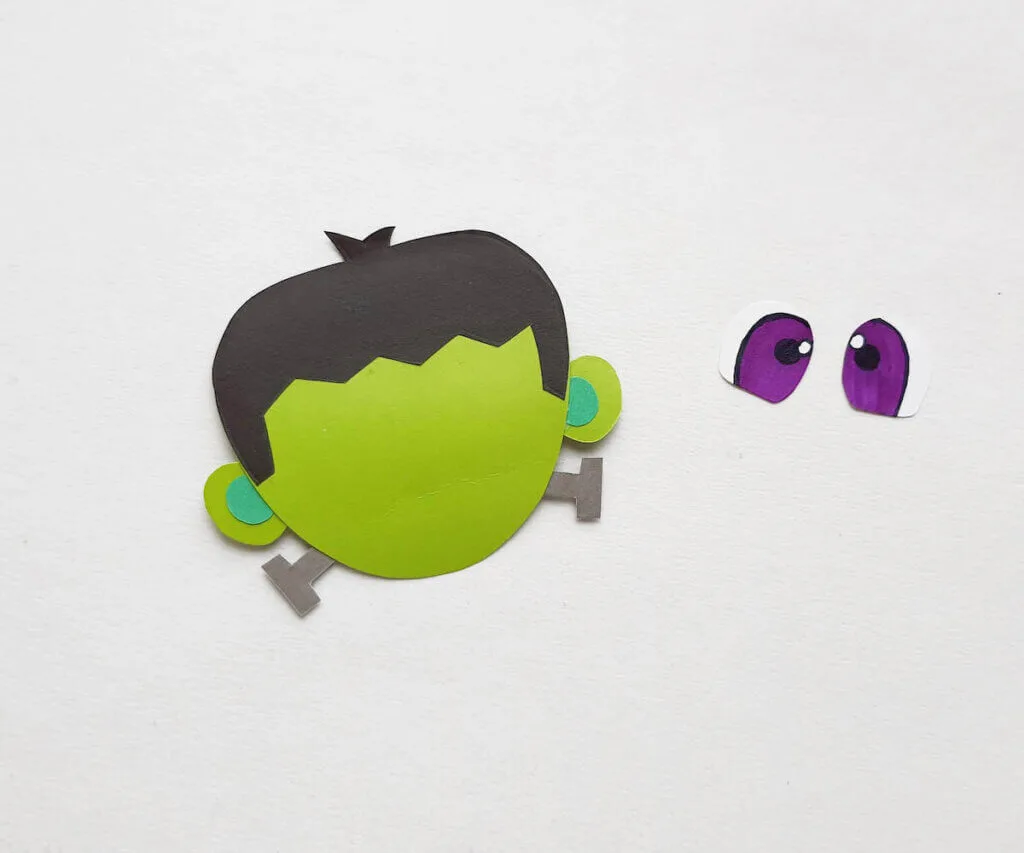
After you’ve cut out the patterns, attach the hair cutout on the top side of the head pattern.


Then, you’ll attach the inner ear cutouts to the main ear cutouts.
Step 3:
Next, you’ll attach the ear patterns on both sides of the head pattern and the bolt patterns on both sides as well but below the ears.

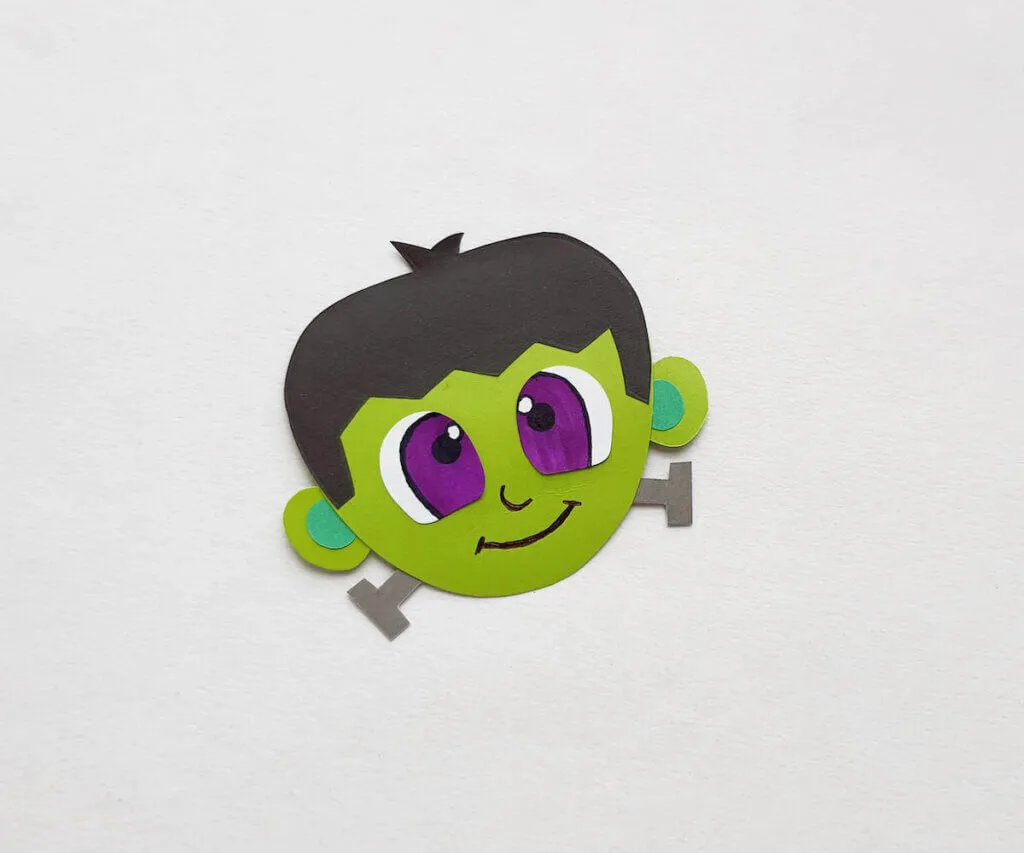
Step 4:
After the ears are attached, glue the eye cutouts to the head pattern. Then, use a sharpie to draw the nose and mouth of the papercraft Frankenstein pattern.

Step 5:
Now it’s time to work on Frankenstein’s body. First, cut out a piece of paper from blue craft paper. This paper’s width should be slightly more than the toilet paper roll’s half and the length should be enough to wrap around the toilet paper roll once.
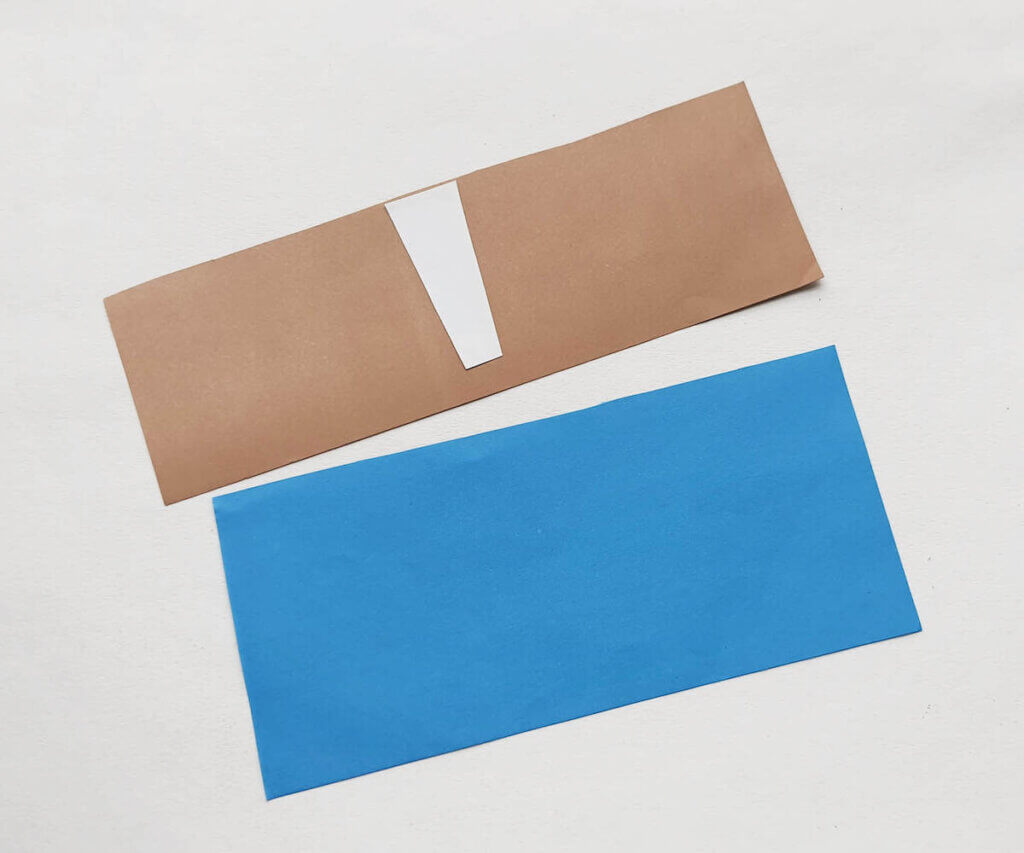

Next, you’ll cut out a brown paper similarly, but this time keep the width of the paper the same as the half of the toilet paper roll’s height.
Then, cut out a small strip of square paper and attach it along the middle of the brown paper. This is the shirt and the brown on both sides of the white paper will be the jacket.
Step 6:
Now, wrap the toilet paper roll with blue and brown paper. Be sure to keep the blue paper on the bottom side since this is the pair of pants.

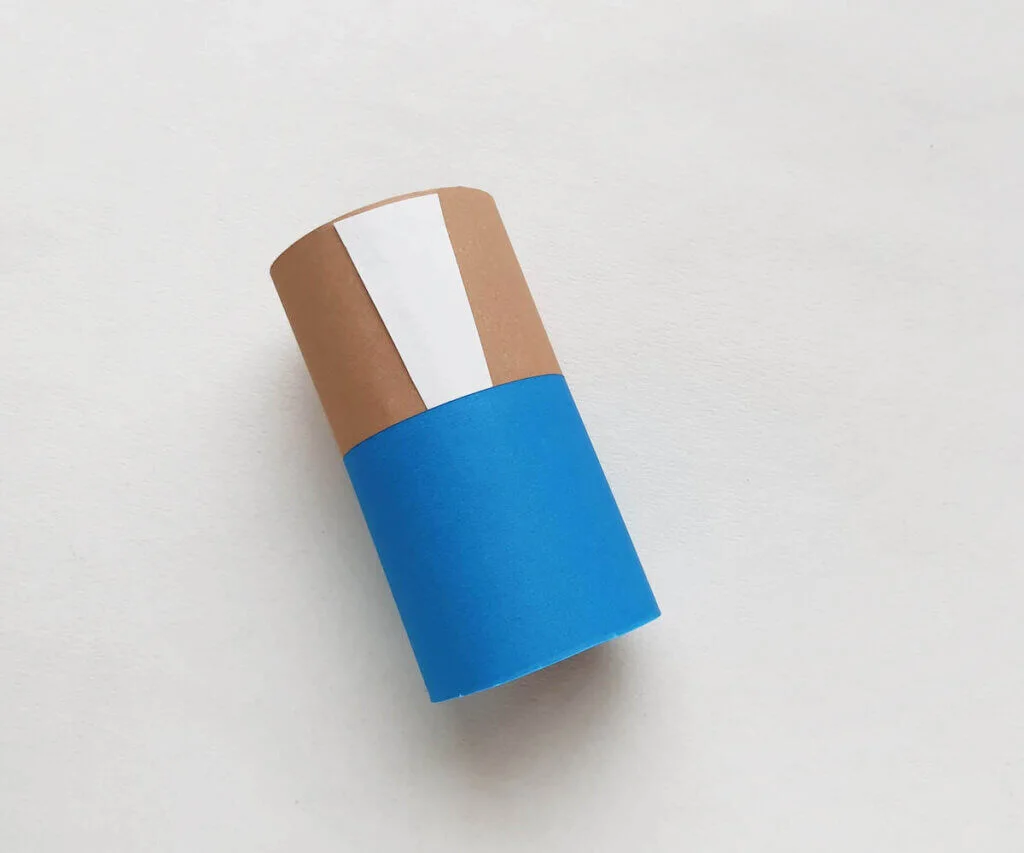
Then, apply glue on the open ends to secure the wrapping.
Step 7:
Finally, attach the head on the top side of the paper-wrapped toilet paper roll to complete the craft.
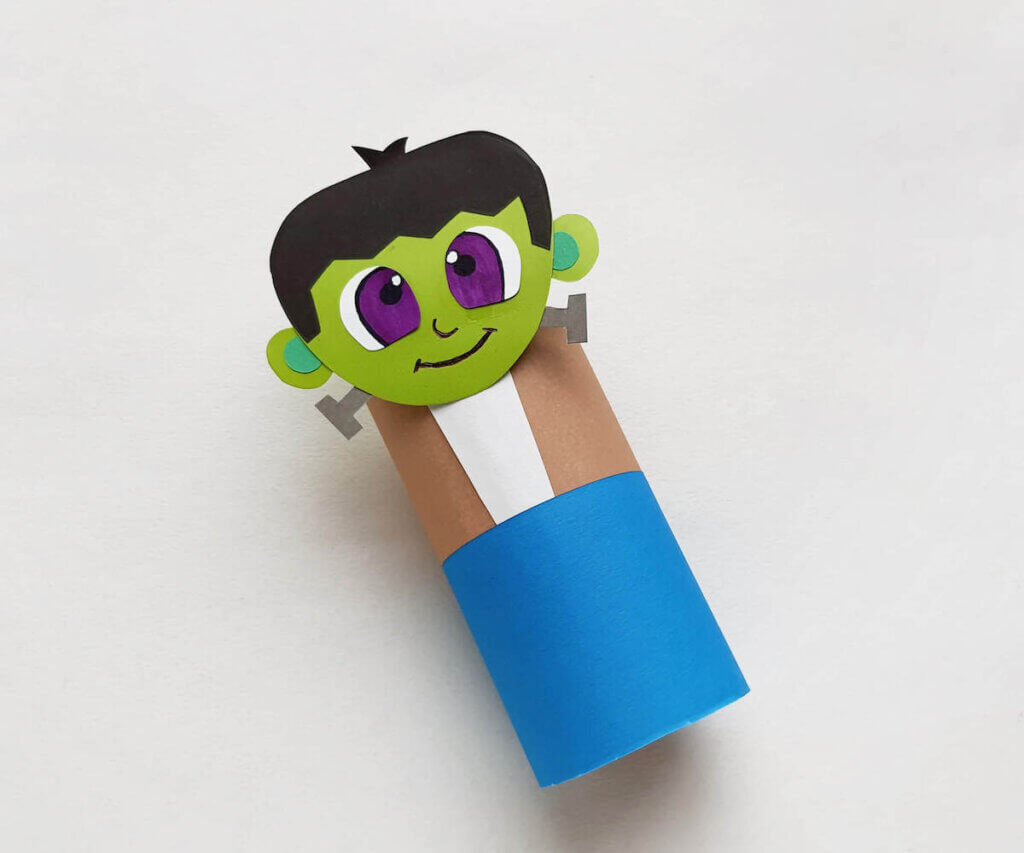

And voila! You have a super cute Frankenstein toilet paper roll craft!
Toilet Paper Roll Frankenstein FAQs
You can easily use a paper towel roll instead of a toilet paper roll. Just be sure to cut it to be the same size as a toilet paper roll or adjust the paper size.
You can use it as a puppet, set it on a table for decoration, or add a string loop and hang it somewhere.
Yes, it’s a kid-friendly craft, but younger children might need adult supervision or assistance, especially with cutting or using glue.
It typically takes about 15-30 minutes, excluding drying time for the glue.
Absolutely! Kids can add their own creative touches, like glitter, stickers, or different facial expressions.
Make sure the bottom of the toilet paper roll is flat, or you can add a small weight inside to help it stand.
Frankenstein Toilet Paper Roll Craft Wrap-Up
The best part about this project is that it’s fairly simple and easy to make. We hope you enjoy our Frankenstein toilet roll craft!
If your kids are looking for other Halloween crafts or activities to do with friends at school or home, be sure to check out our other posts in the Halloween section. Happy crafting!
Looking for more Halloween content? Check out our list of Disney Halloween movies to watch, Hocus Pocus bingo, Disney Halloween party ideas, and Halloween printable activities for kids!
Easy Frankenstein Toilet Paper Roll Craft


Looking for an easy Halloween craft for kids? You'll definitely want to make this adorable Frankenstein toilet paper roll craft. It's really simple and easy to make with kids at home or in the classroom.
Materials
- Empty toilet paper roll
- Colored cardstock paper
- Colored craft papers
- Craft glue
- Pencil
- Sharpie
Tools
- Scissors
Instructions
- Select green cardstock paper for the head and main ear patterns, dark green craft paper for the inner ear patterns, black cardstock paper for the hair pattern, gray craft paper for the bolt pattern, blue craft paper for the pant, brown craft paper for the jacket and white craft paper for the shirt. Trace the template patterns on the selected cardstock and craft papers. Cut out the traced patterns using scissors.
- Attach the hair cutout on the top side of the head pattern. Attach the inner ear cutouts on the main ear cutouts.
- Attach the ear patterns on both sides of the head pattern and the bolt patterns on both sides as well but below the ears.
- Attach the eye cutouts on the head pattern and then use a sharpie to draw the nose and mouth of the papercraft Frankenstein pattern.
- Cut out a piece of paper from blue craft paper; this paper’s width should be slightly more than the TP roll’s half and the length should be enough to wrap the TP roll once. Cut out a brown paper similarly, but this time keep the width of the paper the same as the half of the TP roll’s height. Cut out a small strip of square paper and attach it along the middle of the brown paper, this is the shirt and the brown on both sides of the white paper will be the jacket.
- Now, wrap the TP roll with the blue and brown paper, keeping the blue paper on the bottom side as it is the pant. Apply glue on the open ends to secure the wrapping.
- Attach the head on the top side of the paper-wrapped TP roll to complete the craft.